Table of Content
Some permanent markers are too thick for tattoos or are a bit dry. The knob at the grip of the pin will serve as the head, and the split at the bottom will become the feet. The black or brown becomes the shoe color; the first color is the sock color.You can paint the clothespin with skin-colored paint if you want, but it's not strictly necessary.
Pre-made doll wigs are also available to purchase. If your doll's head doesn't come pre-painted, it's time to paint makeup onto it. Acrylic paint should work for most materials.
Wonderful DIY Minion Easter Eggs
The wooden pieces can be nailed together or glued using a strong wood glue. Check out howCraftiness is Not Optionalmade each little wall decor element that looks just like something we might actually make in full size and hang in our own home in real life. Thanks to all authors for creating a page that has been read 137,139 times. Fold the top of the fabric over the elastic band and sew it in place. Sew up the two seams from the incision you just made. To keep the fabric from fraying or splitting, use the zigzag pattern of sewing called serging.
Check out how both the dishes and their wooden shelf were made onVavoom Vintage. Knee-high socks will not fit a barbie doll and children's socks will often fit the barbie more snugly than an adult sock. If you chose to use two pieces of fabric, lay both pieces good side down and sew the pieces together.
JOIN OUR COMMUNITY OF CRAFTERS!
Make blankets by cutting up old clothes with a fun pattern. Old boxes and craft rounds were used to make the living room furniture. Thanks to all authors for creating a page that has been read 186,523 times.

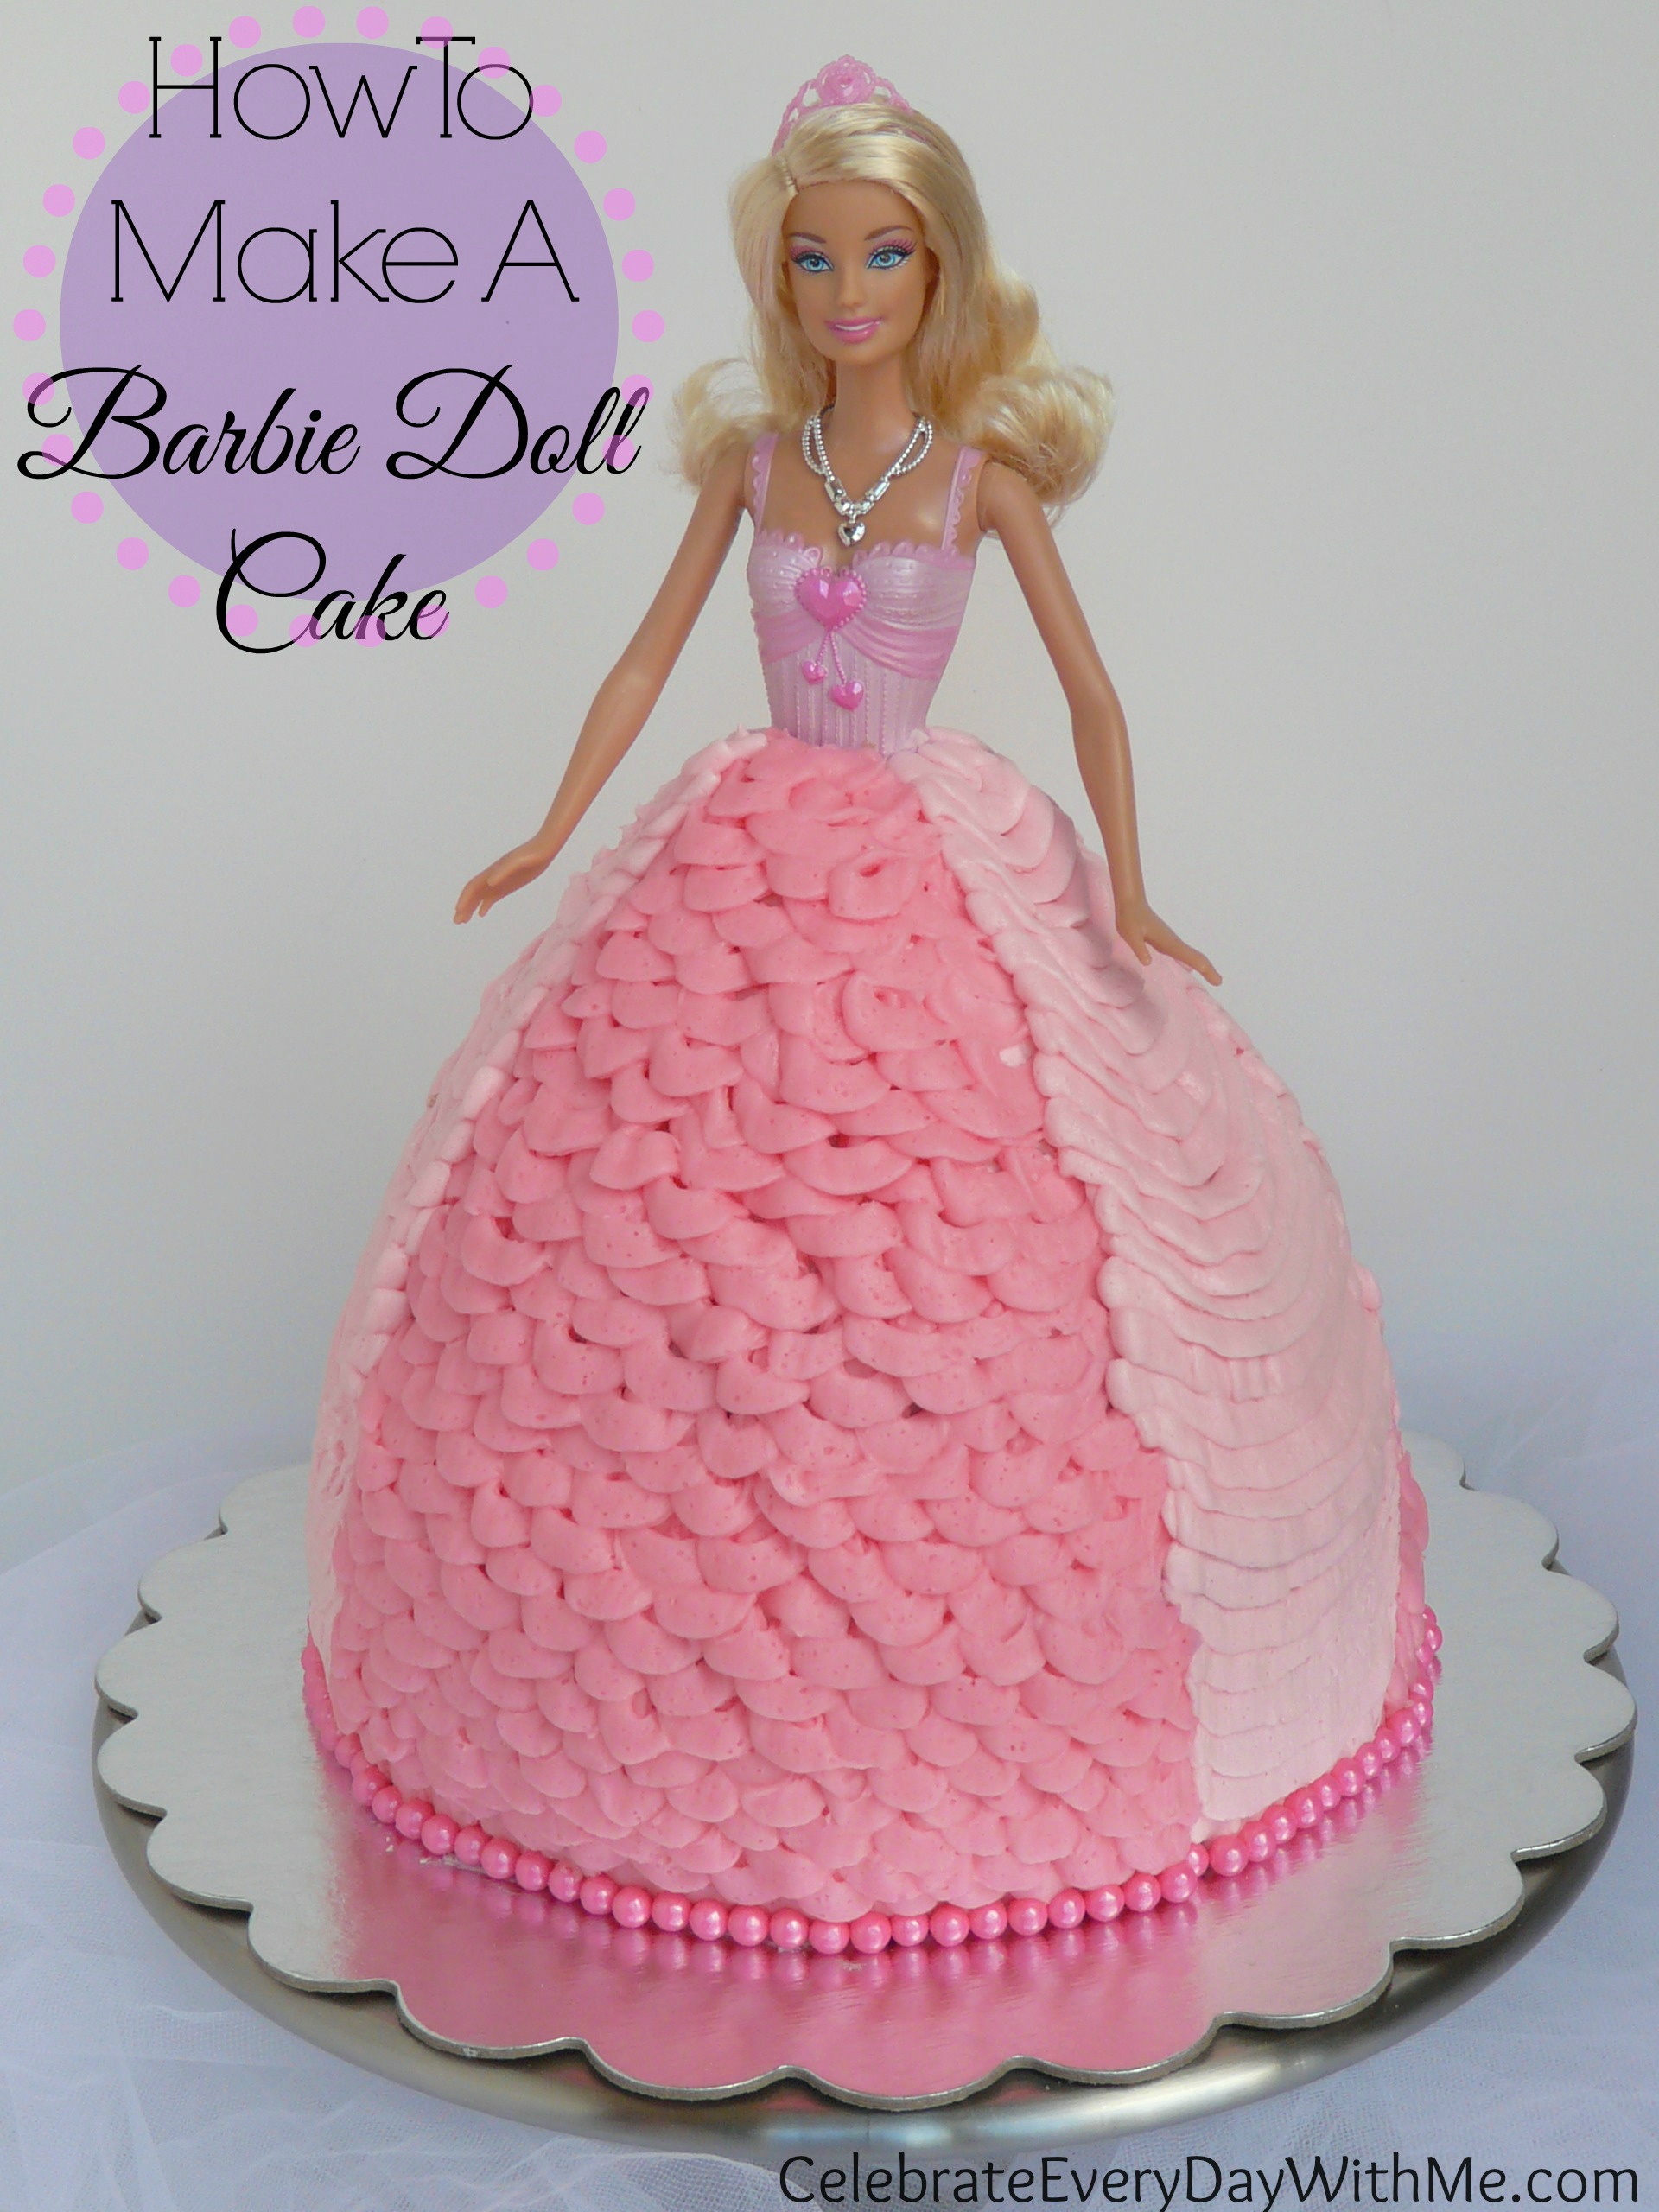
Barbie is, perhaps, the most popular doll in the world and the market offers many different houses, furniture and numerous accessories. All these come at a price and could be quite costly while imagination and creative craft ideas require a free afternoon and some basic skills. DIY Barbie furniture and DIY Barbie house ideas are widely popular as they provide an opportunity for various craft projects which are a lot of fun for both little girls and parents. On the first place making a doll house and doll furniture is a great way to save some money from the family budget, because buying miniature sofas and cabinets for dolls in specialized stores is not so cheap. Since we have already done four $5 Dollar Tree Craft Challenges, we have a lot of leftover craft supplies.
Wooden Barbie fireplace and mantle
Cardboard is an excellent material for DIY Barbie house ideas as it is cheap and can be crafted really fast. Cardboard dollhouses are not very strong and stable, so you may think of reinforcing the walls and floors of the house with additional pieces of cardboard. For the interior of the house you can use not only wallpaper remnants but different gift wrapping paper in fresh, bright colors. The most important component for making a fabric doll is the pattern. There are many fabric doll patterns available for free online, as well as purchasable patterns at fabric and craft stores.

A wooden dollhouse will be heavy once it’s constructed so either make it where it will be used or plan in advance how you will move it when finished. Adding wheels to the base makes moving the dollhouse easier. Wooden DIY dollhouses are commonly made of inexpensive birch plywood or MDF sheets. These ‘constructed’ woods can emit toxic gasses so make sure you seal and paint them well.
If you're making a dress, simply cut off the sock several inches above where the foot portion begins. If you're making a shirt, cut 3–4 inches (7.6–10 cm) from the top. Thanks to all authors for creating a page that has been read 21,796 times.
Use a small brush when painting, and start with the base colors first . Let each layer dry before starting the next, and let the doll dry for a few more hours once you're finished.Consider adding blush to your doll's cheeks by using pink paint thinned with some paint thinner. You can also find detailed plans and instructions at Houseful of Handmade.
To allow your doll to fill out properly with the batting, you'll generally need to make stitches to help define curves. Again, follow the specific instructions on your pattern. Softer plastic doll parts can usually be pressed into pre-fitted holes on the body to make a doll with moving joints. Alternatively, use an appropriate type of glue to fix the doll's limbs in position, or to make a doll from simpler or harder parts.If you use glue, wipe away excess glue from around the joint when you're finished.

DIY Barbie House - This site has some really cute ideas for a very lucky girl and her Barbie house. "Reminded me how I made doll clothes before I learned to use a sewing machine." There are various patterns available in fabric stores. Look through the pattern books under the crafts/toys section. This method works for both articles of clothing ; the difference between the two is simply the length of the sock.Choose your sock (use a child's sock instead of an adult sock) and cut it to fit your design.
The length will obviously depend on how long or short you want your skirt to be (anywhere from 2-4 inches). Use a washable marker to give her a removable tattoo. If you want to give your doll a permanent tattoo, use a permanent marker but make sure you want to do this because it won't come off!

I especially like how she has created ‘doorways’ between rooms at the front of the house so you don’t need to cut them out. Your DIY dollhouse can be built using a variety of materials, such as durable plywood, lightweight foam-core board, or recycled cardboard packaging. A cardboard dollhouse probably won’t last long enough to become an heirloom but it’s a lot easier to make and move. Turn the pants back inside out for nice, sewn pants for your barbie doll. There will be a natural elastic waist created by the band at the top of the sock. One of the simplest ways to make Barbie furniture is to use several matchboxes.
DIY Barbie Doll Furniture and Accessories
Consider making a hat or wig of some type for your doll's bald head. Once you're satisfied, glue each item into place with a bit of craft glue.Your clothespin doll won't hold up a lot under sustained play, but it does make a great family project or childhood keepsake. When you're ready to make your doll, soak the dried husks in a bowl of water for about 10 minutes. Though it sounds counterintuitive, this won't actually rehydrate the husks you so carefully dried; rather, it will make them temporarily more flexible, so that you can bend them into shape without breaking them.


No comments:
Post a Comment